How to Install Stair Stringers Properly
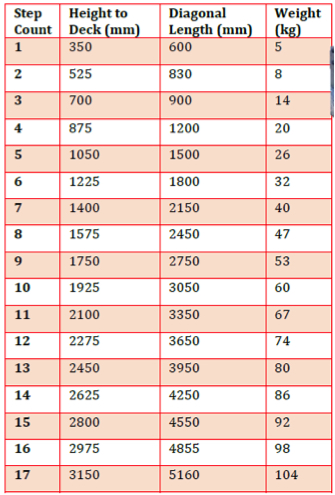
LevelMaster stair stringers are built to last and come in 17 different sizes, making your decision to pick the perfect pair that little bit more difficult.
Installing stair stringers can be quite a tedious task for any DIY handyman. But if you take the time to do it properly, this will help you avoid any issues and master the process quickly.
 How to choose the right pair of stair stringers
Before we start talking about how to actually put the stringers into place, it’s important to make sure you know how to choose the exact right size and type of stringers for the job.
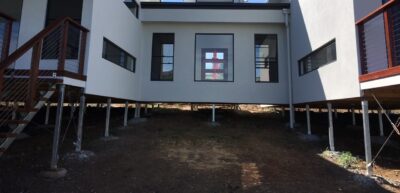
To do this, you must first measure the ‘height to deck’. This is the straight vertical height from the ground or concrete level at the bottom to the finished deck level at the top. You can then refer to the table on the right to find exactly what size you’ll need (step count).
After recording this value, you must then decide whether you’ll require a bolt down set or a cast in set. Determining this is quite simple. If there is already a concrete landing on the ground, then you will require a bolt down set. If you currently have nothing, a cast in set would be ideal for you.
You will then need to either pour 2 small footings or cast a small slab (see our engineers’ details for footing size). If you are confused at any stage of the process, please contact us. Our friendly staff can help you out.
What to do before installing stair stringers
There are a few things that you must do before you install stair stringers.
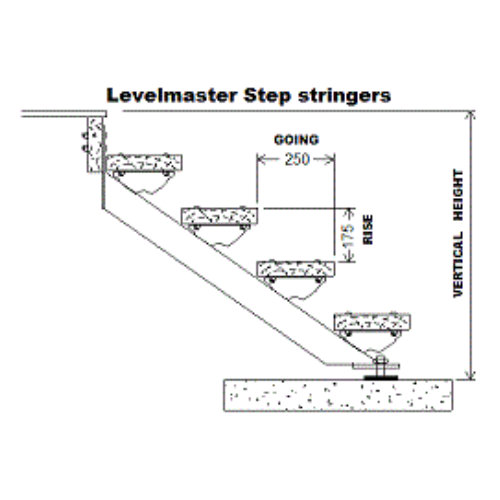
First of all, for the stringers to comply with the Australian building code, all steps must be the same height. This means that you may need to dig the landing down a little extra or build it up to ensure that last step is 175mm. (See table to confirm height.)
Also, the maximum recommended length of treads for a pair of our stringers is 1200mm. If you have treads over this length we recommend you purchase an extra stringer for centre support.
What’s the installation process for stair stringers?
 The installation process will differ depending on what type of stringers you purchase. So make sure that you read this section carefully.
Step 1
Firstly, attach the bolt down or cast in connector to the base of the stringer pair and position them to where you will need them to go later. For cast in, ensure there is a hole excavated in this area for the footing to lie in.
Step 2
After they are correctly positioned, use M12 bolts to attach the top fixing bracket to the face of the deck structure (as shown).
For both types, it is important that the top tread bracket is 225mm from the top of the deck. If you have a cast in set, it is essential that both stringers are perfectly level and in line before pouring concrete (prop if necessary)—as you cannot undo this process. Do the same with a bolt down set to ensure you do not have to re-bolt the stringers due to poor levelling.
Step 3
For cast in, fill the footing with concrete and leave to set. For bolt down, use M12 anchor screws to attach the base to the concrete landing.
Step 4
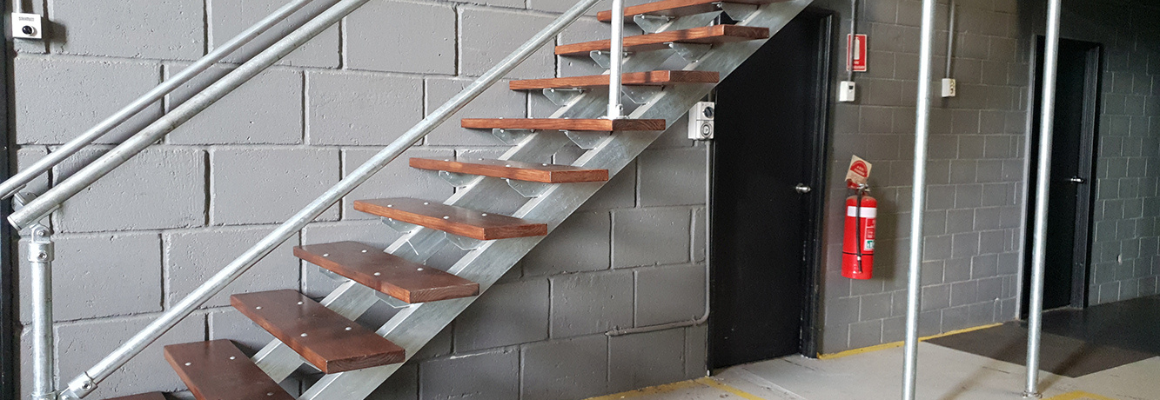
Once all this is in place you can begin attaching the treads to the brackets. You should have a full set of stairs ready in to time.
Please remember: taking shortcuts while doing this can lead to some sticky situations. So to ensure the job is done well, do it right.
LevelMaster supplies Steel Stair Stringers with a stair stringer calculator to help you determine the number of stair treads
Contact Us Today for a free quote and measure or get a quote here.